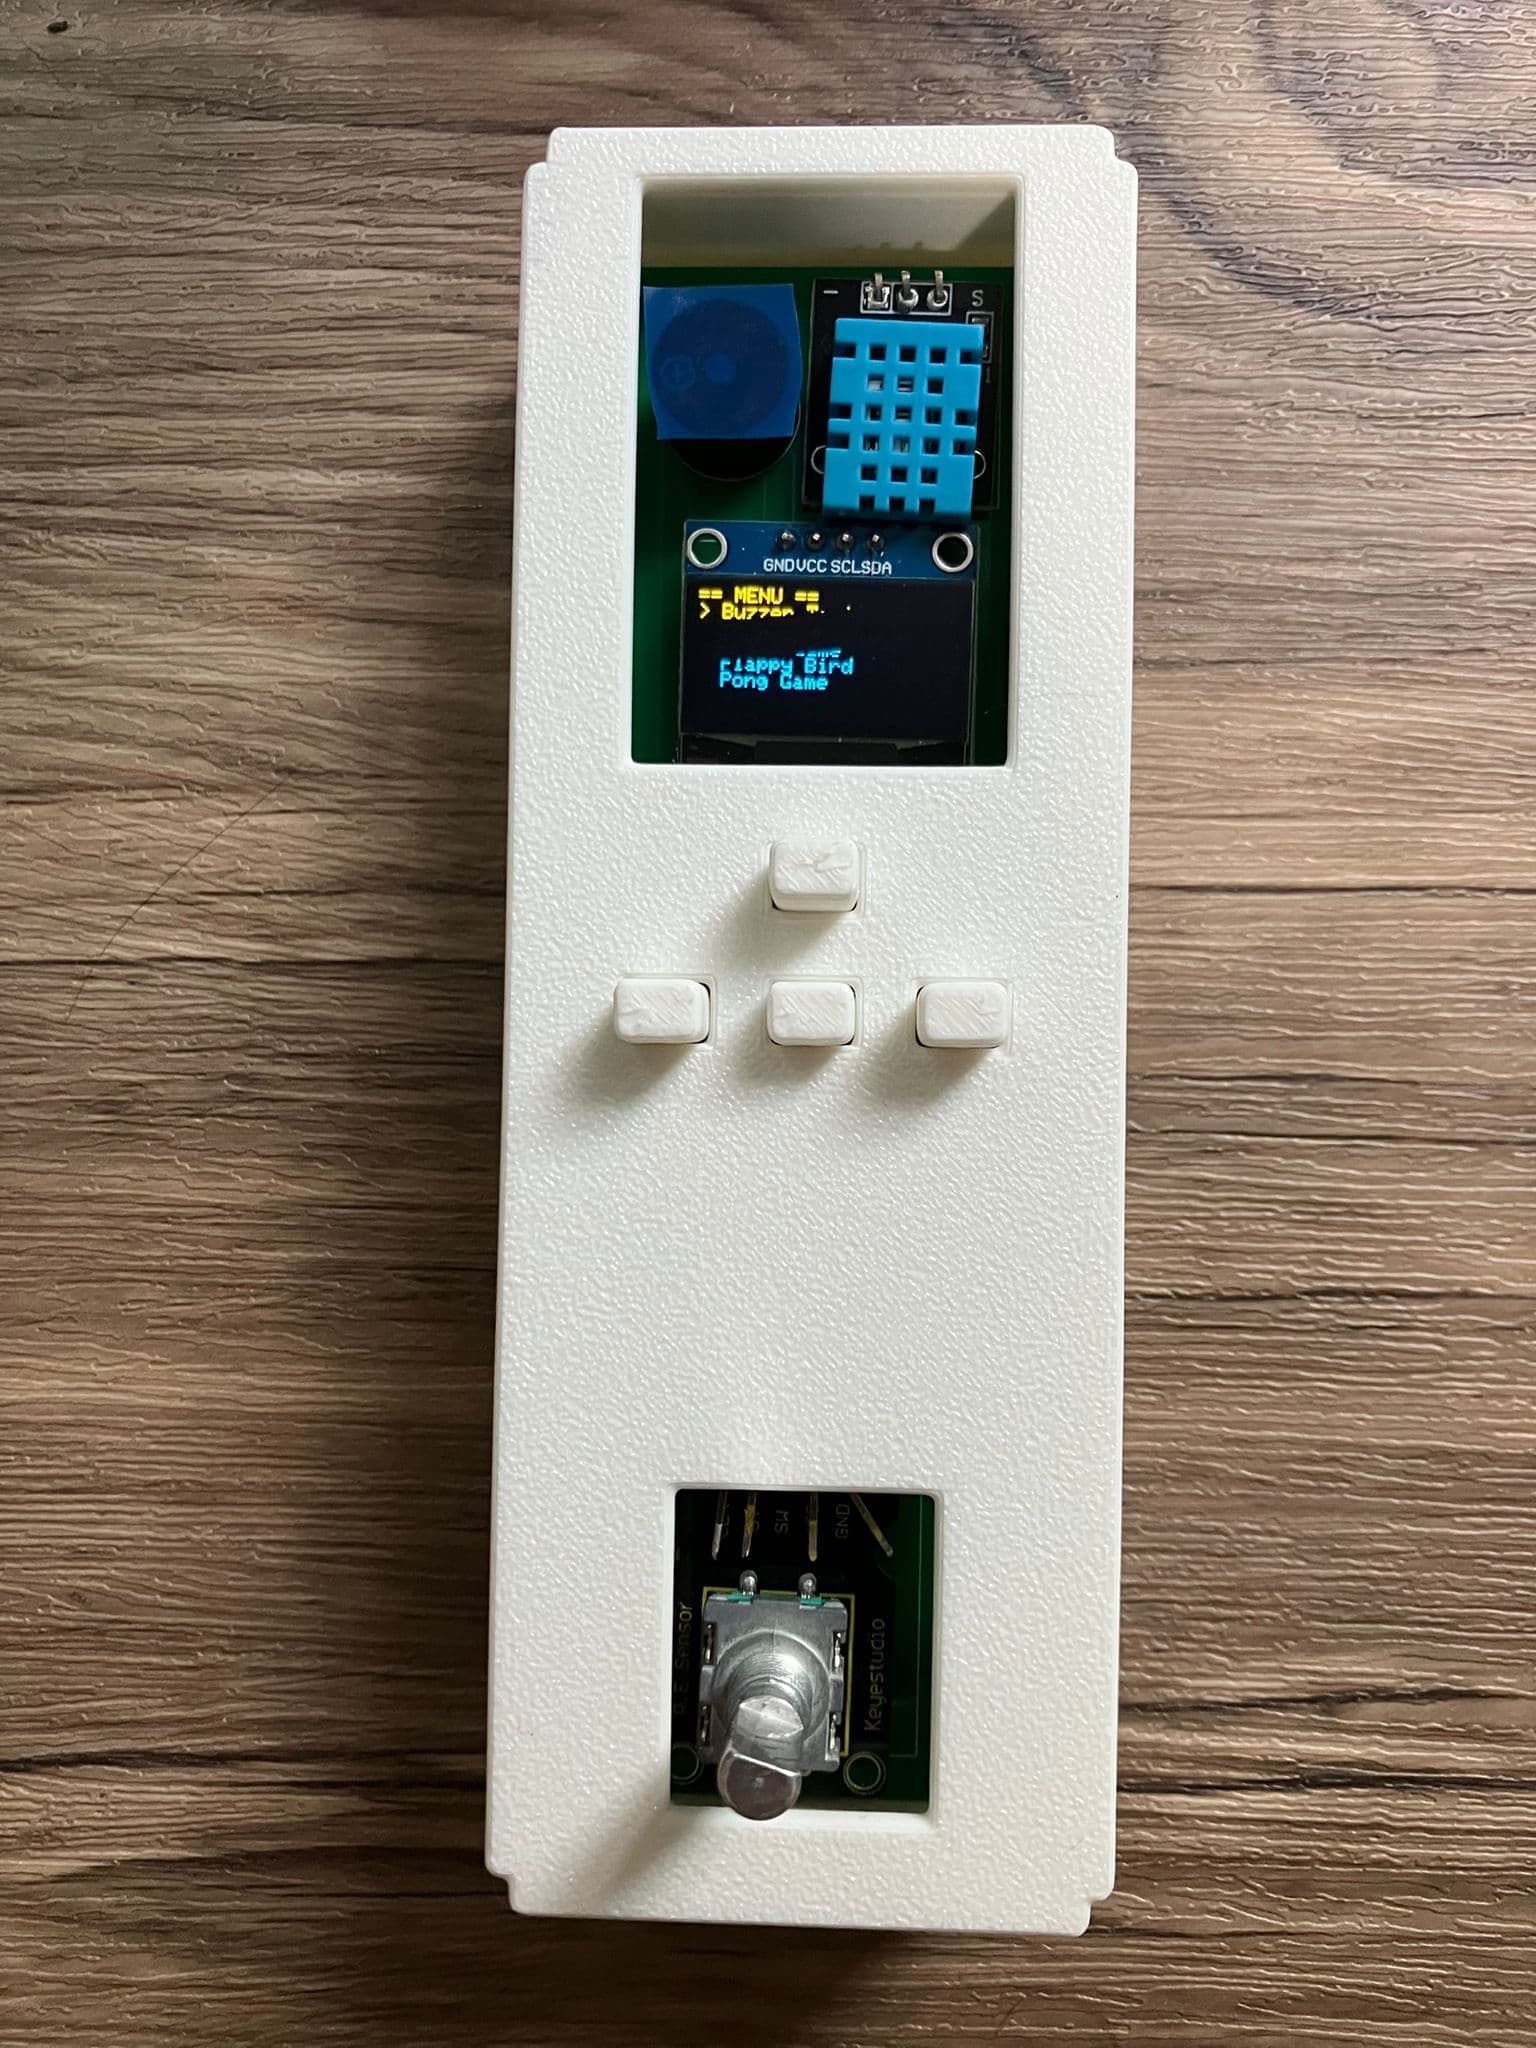
Micro-GameBoy




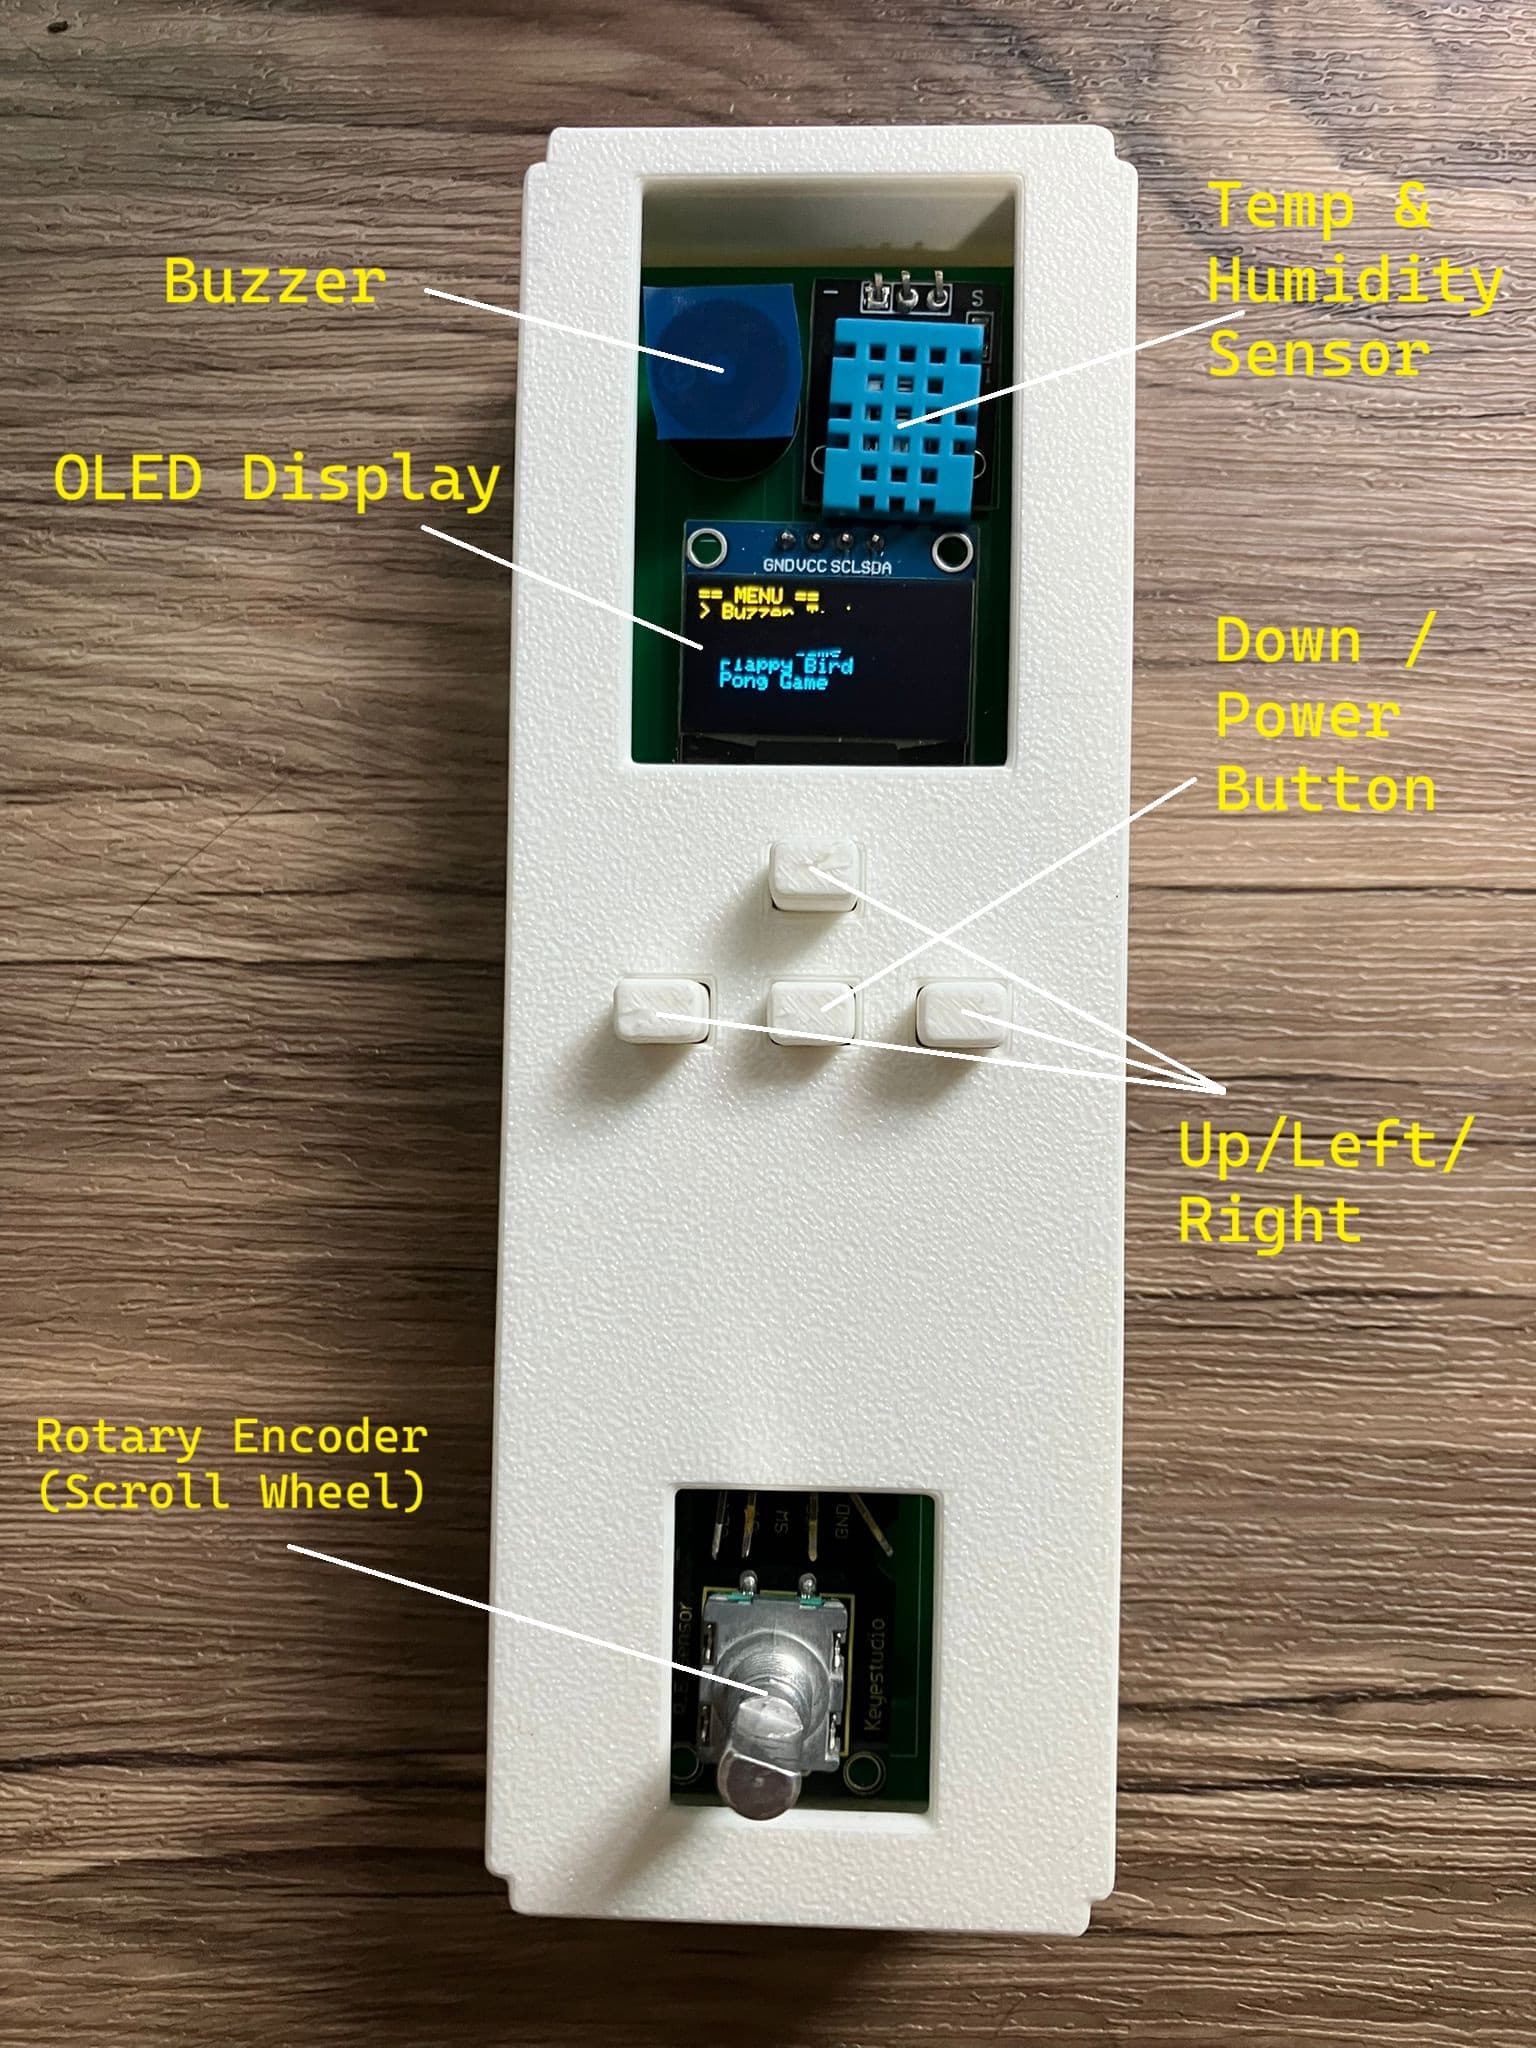
Components Used
- Seeed Studio XIAO ESP32C3
- Buzzer
- 4 Push Buttons (+ resistors)
- Adafruit SSD1306 0.96 Inch OLED Display
- DHT11 Sensor
- Keyestudio Rotary Encoder
Building the Circuit
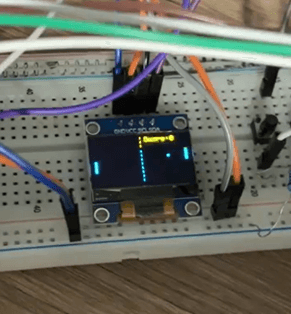
Started out as a simple circuit for the ESP32 using 3 buttons, the OLED display, and a buzzer. The first program it ran was a buzzer frequency test.
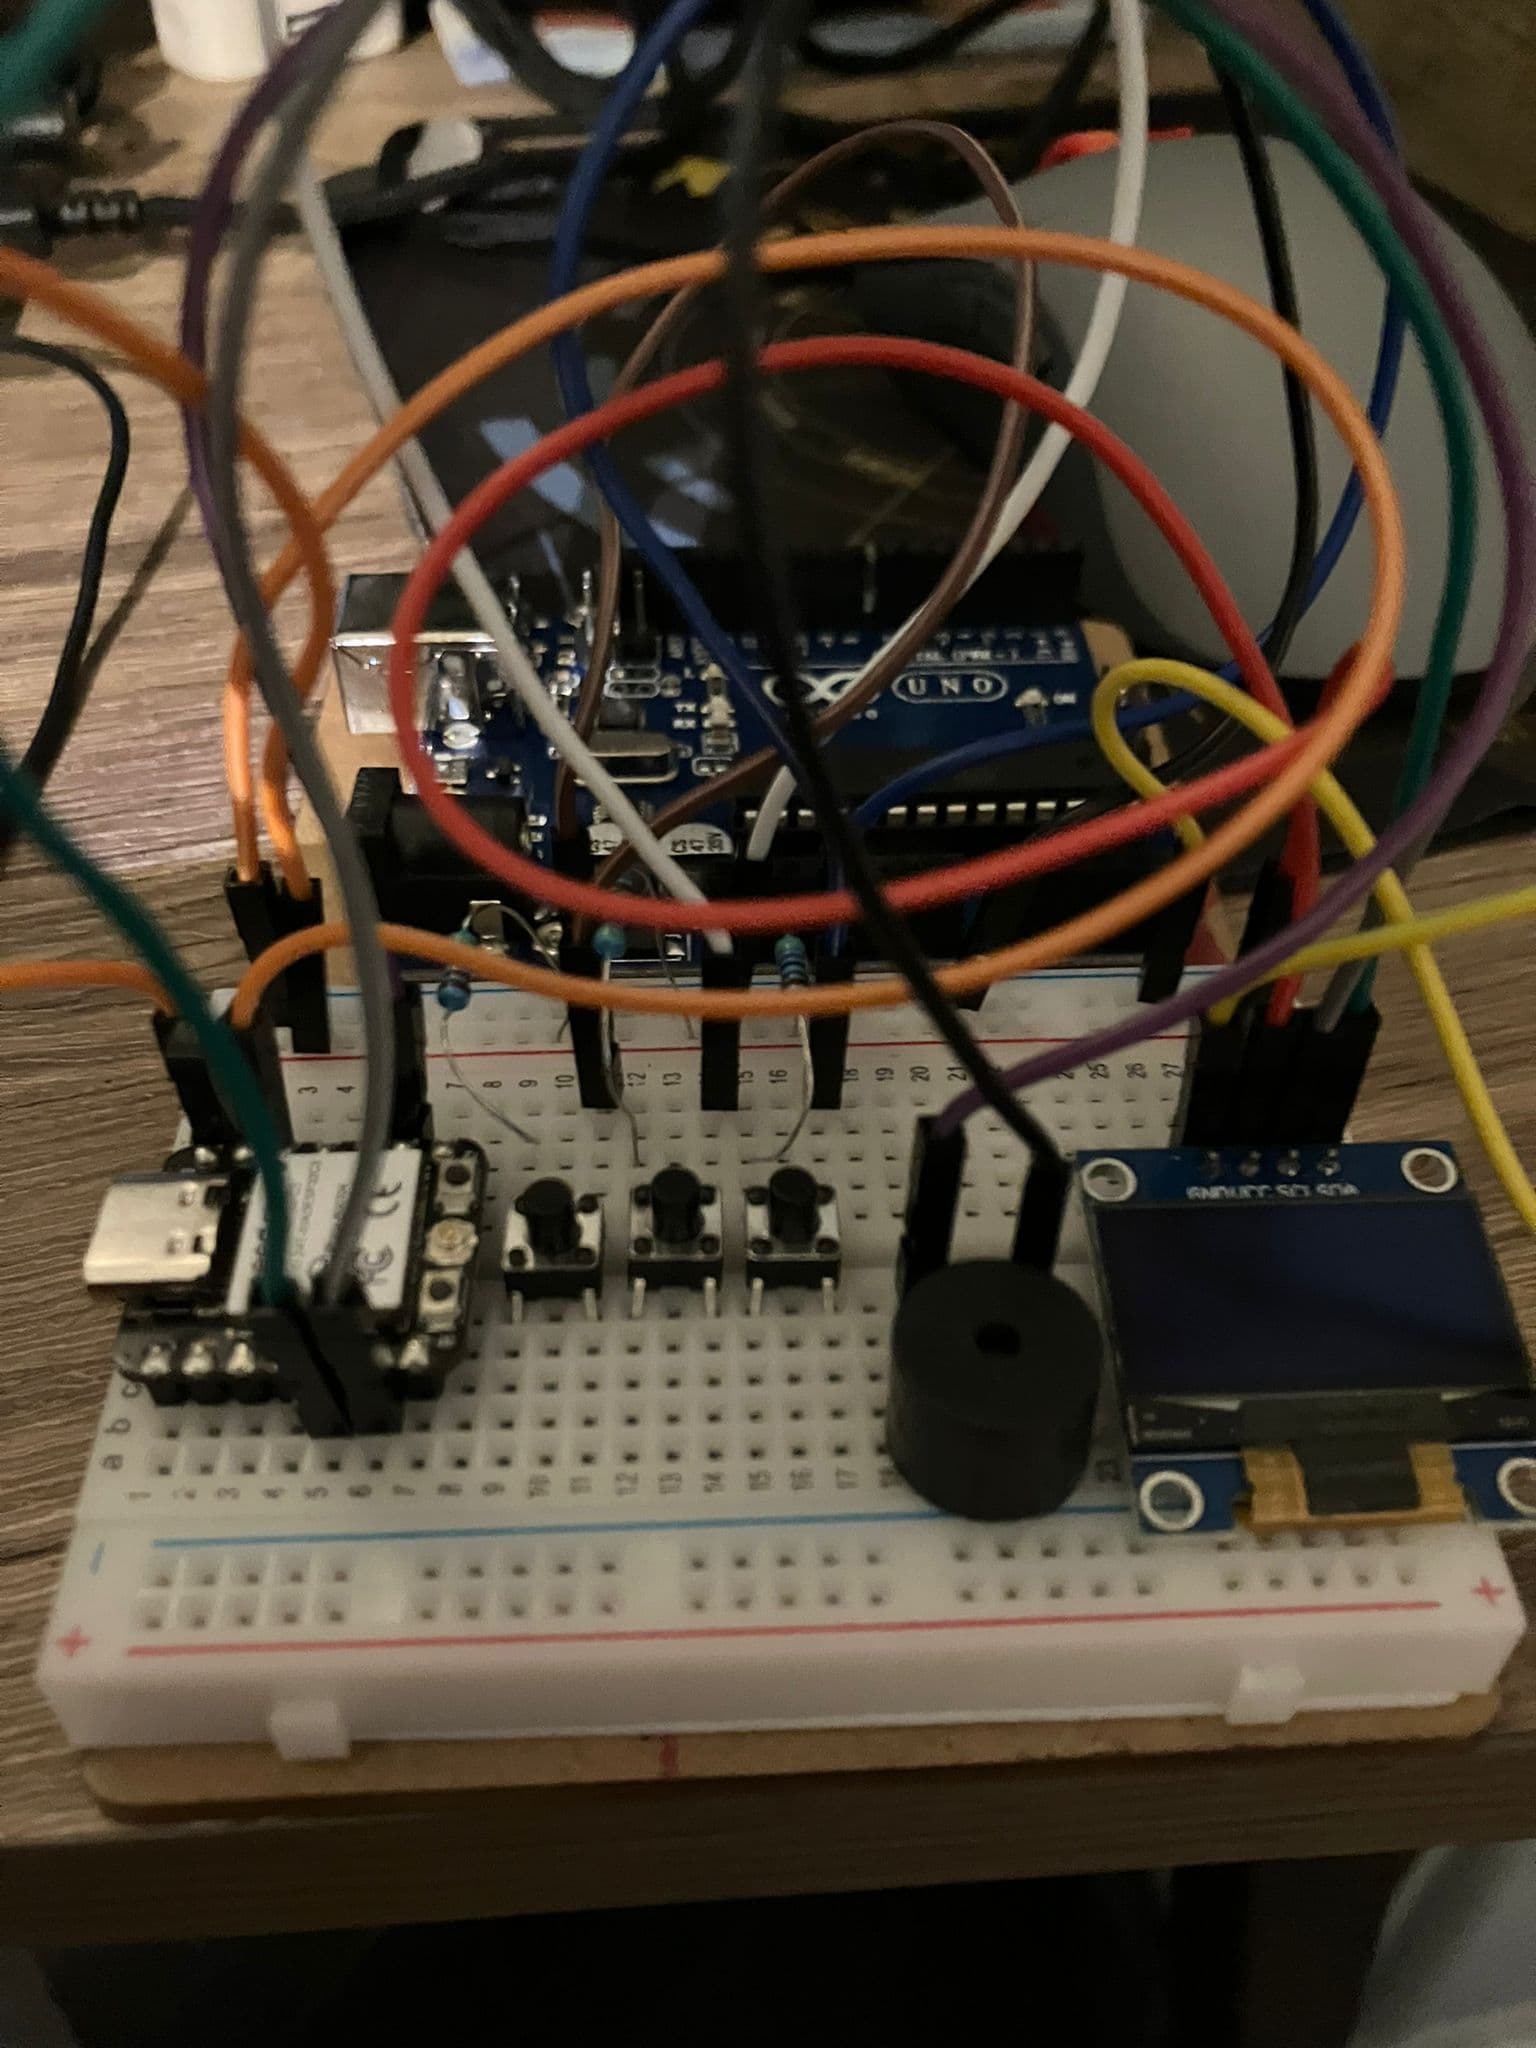
Moved the circuit onto a bigger breadboard to do more things.
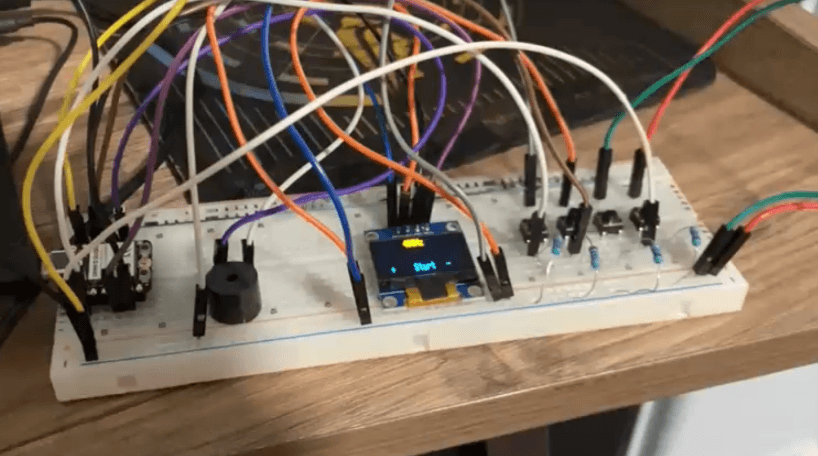
Adding Games and Sensors
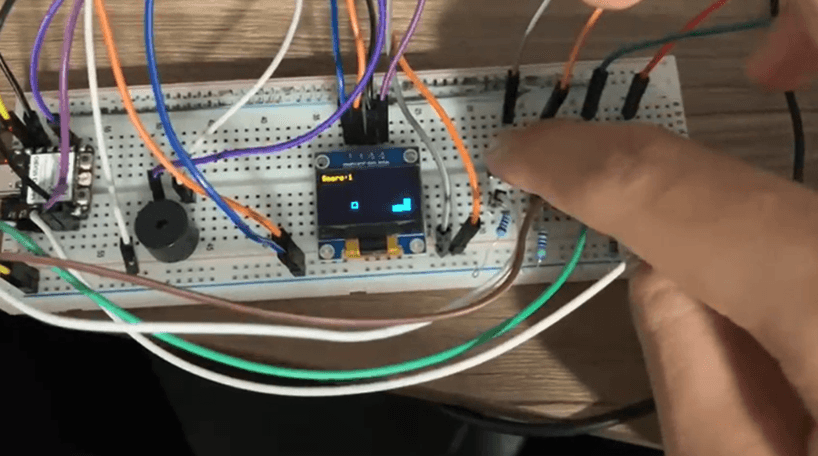
The buzzer program was from my friend, but I wanted to learn how to program myself, so I asked ChatGPT to generate code for a snake game, and I learnt from there.
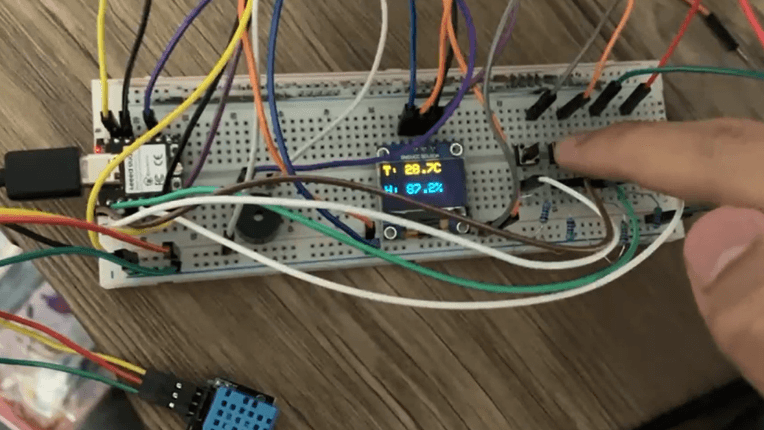
I then added the DHT11 sensor to see the temperature and humidity.
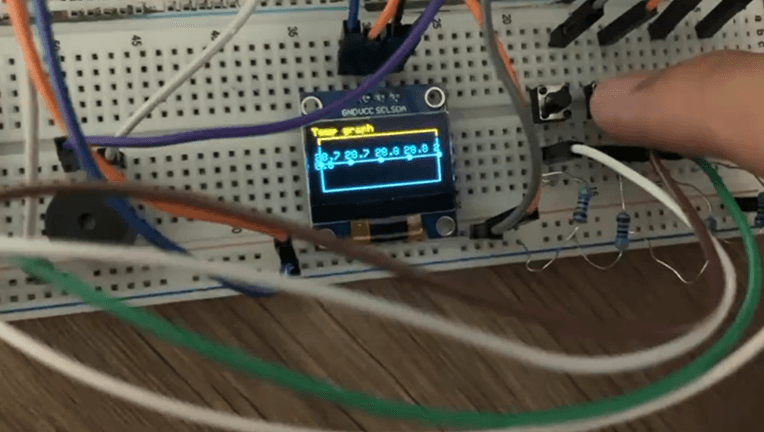
With coding help from AI, I could now visualise the temperature or humidity on a graph.
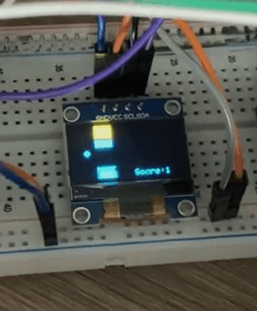
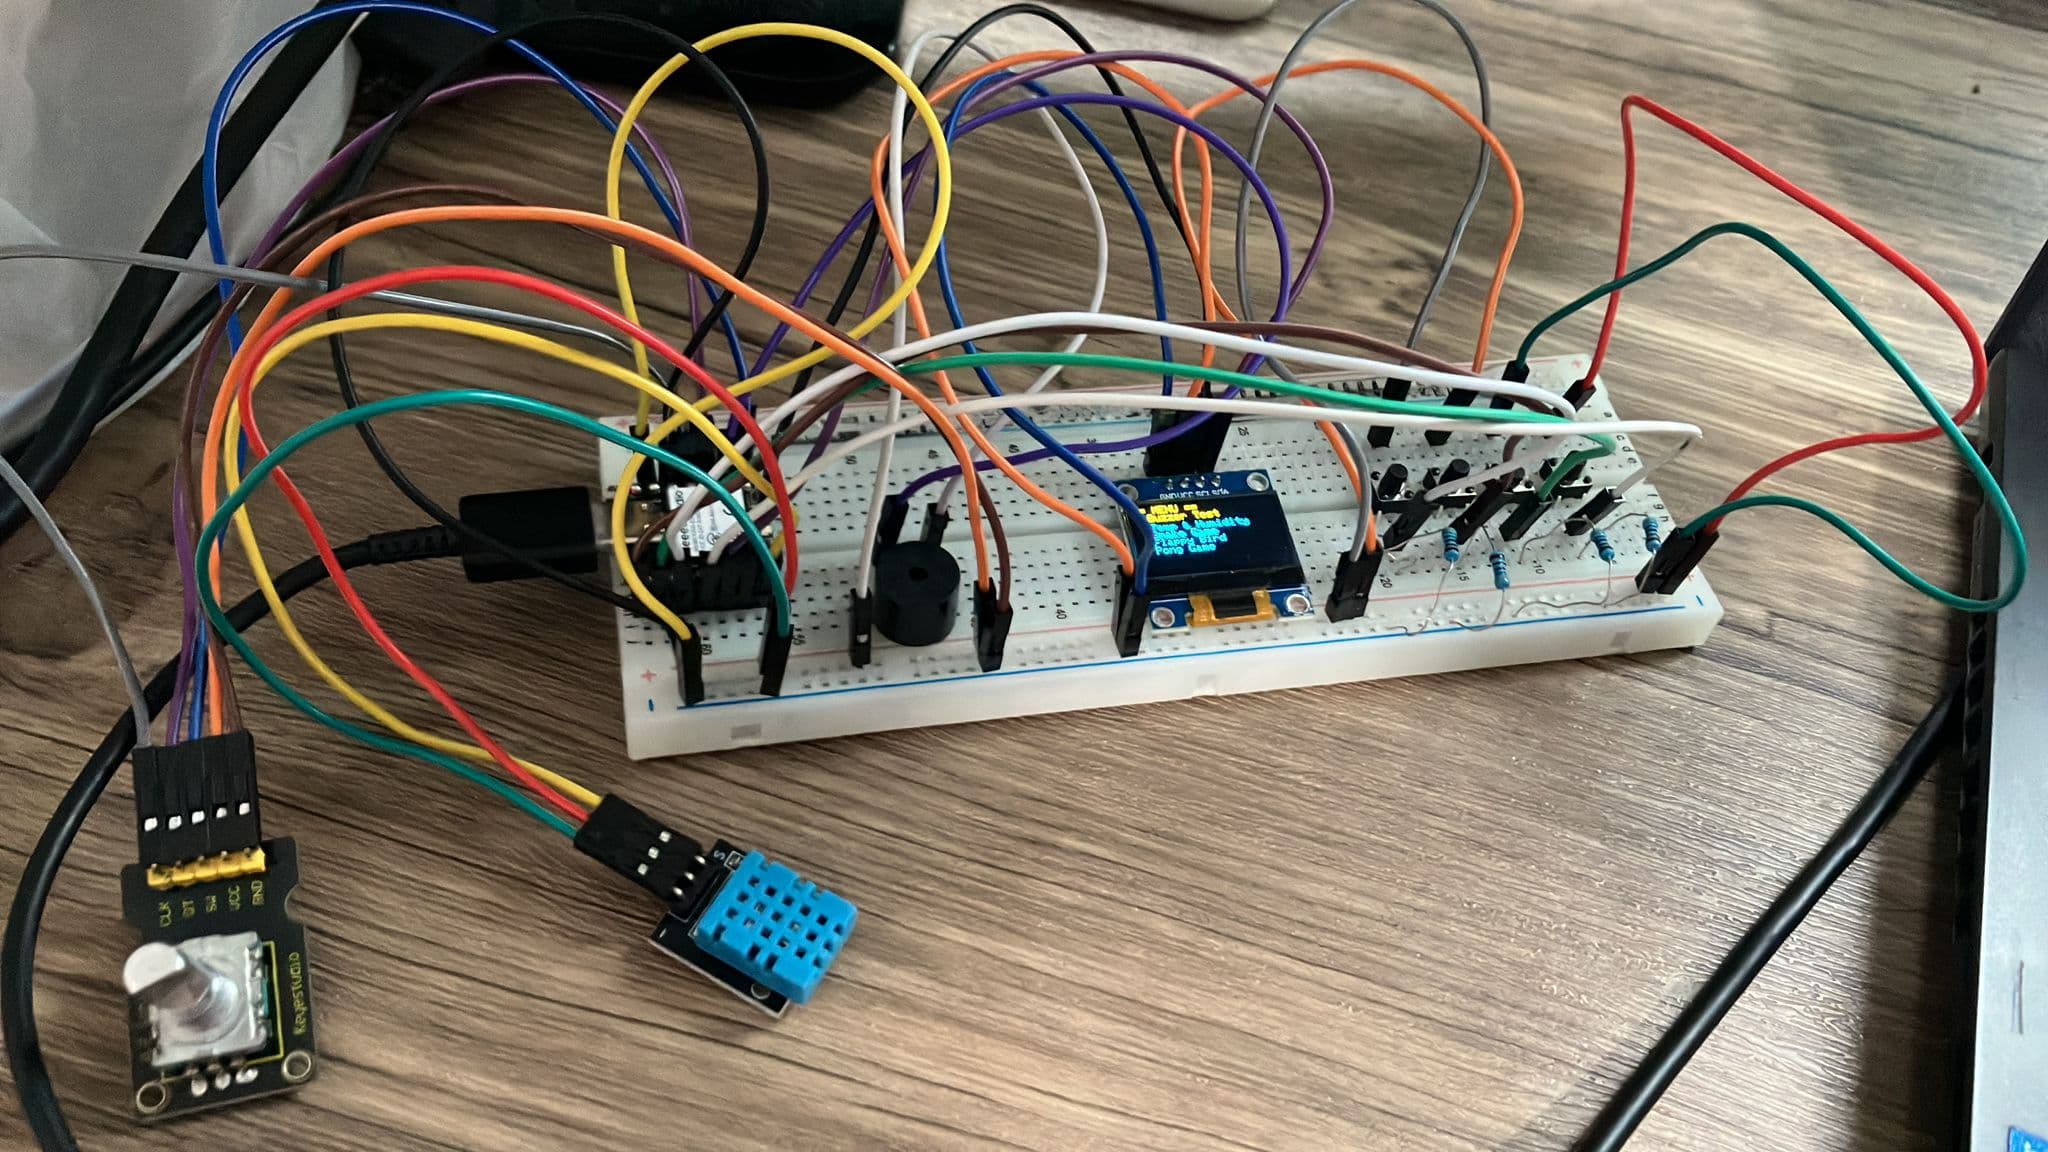
After testing each code individually, I decided to merge all the codes together and be able to switch between them using a menu. This was when I added the rotary encoder to scroll through the menu.
The Final Code
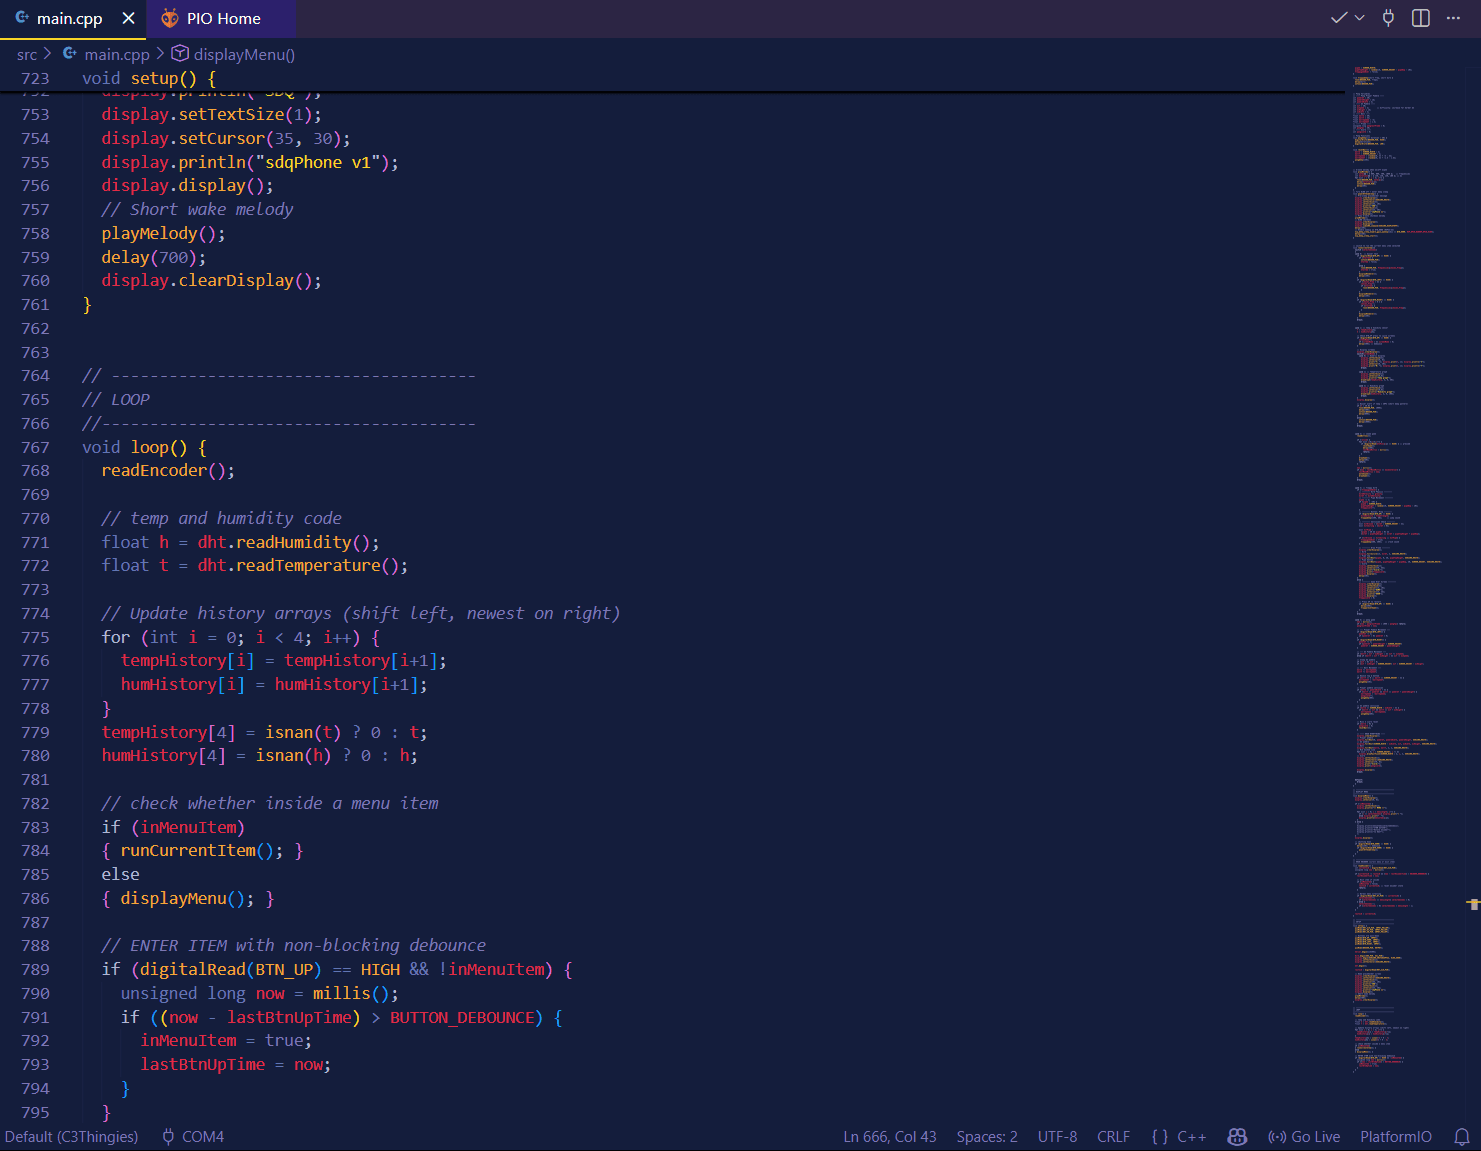
The final version of the code had around 800 lines. This was coded in C++ using PlatformIO on Visual Studio Code. The project code can be downloaded here.
Designing the PCB
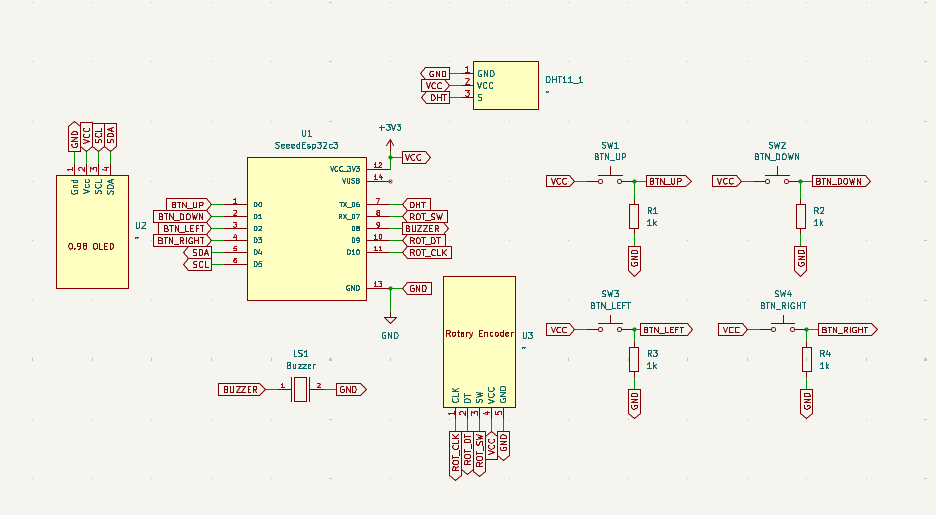
To design the PCB, I used KiCad. Here is the schematic:
And here is the PCB wiring. I used the auto-router as the circuit is quite simple.
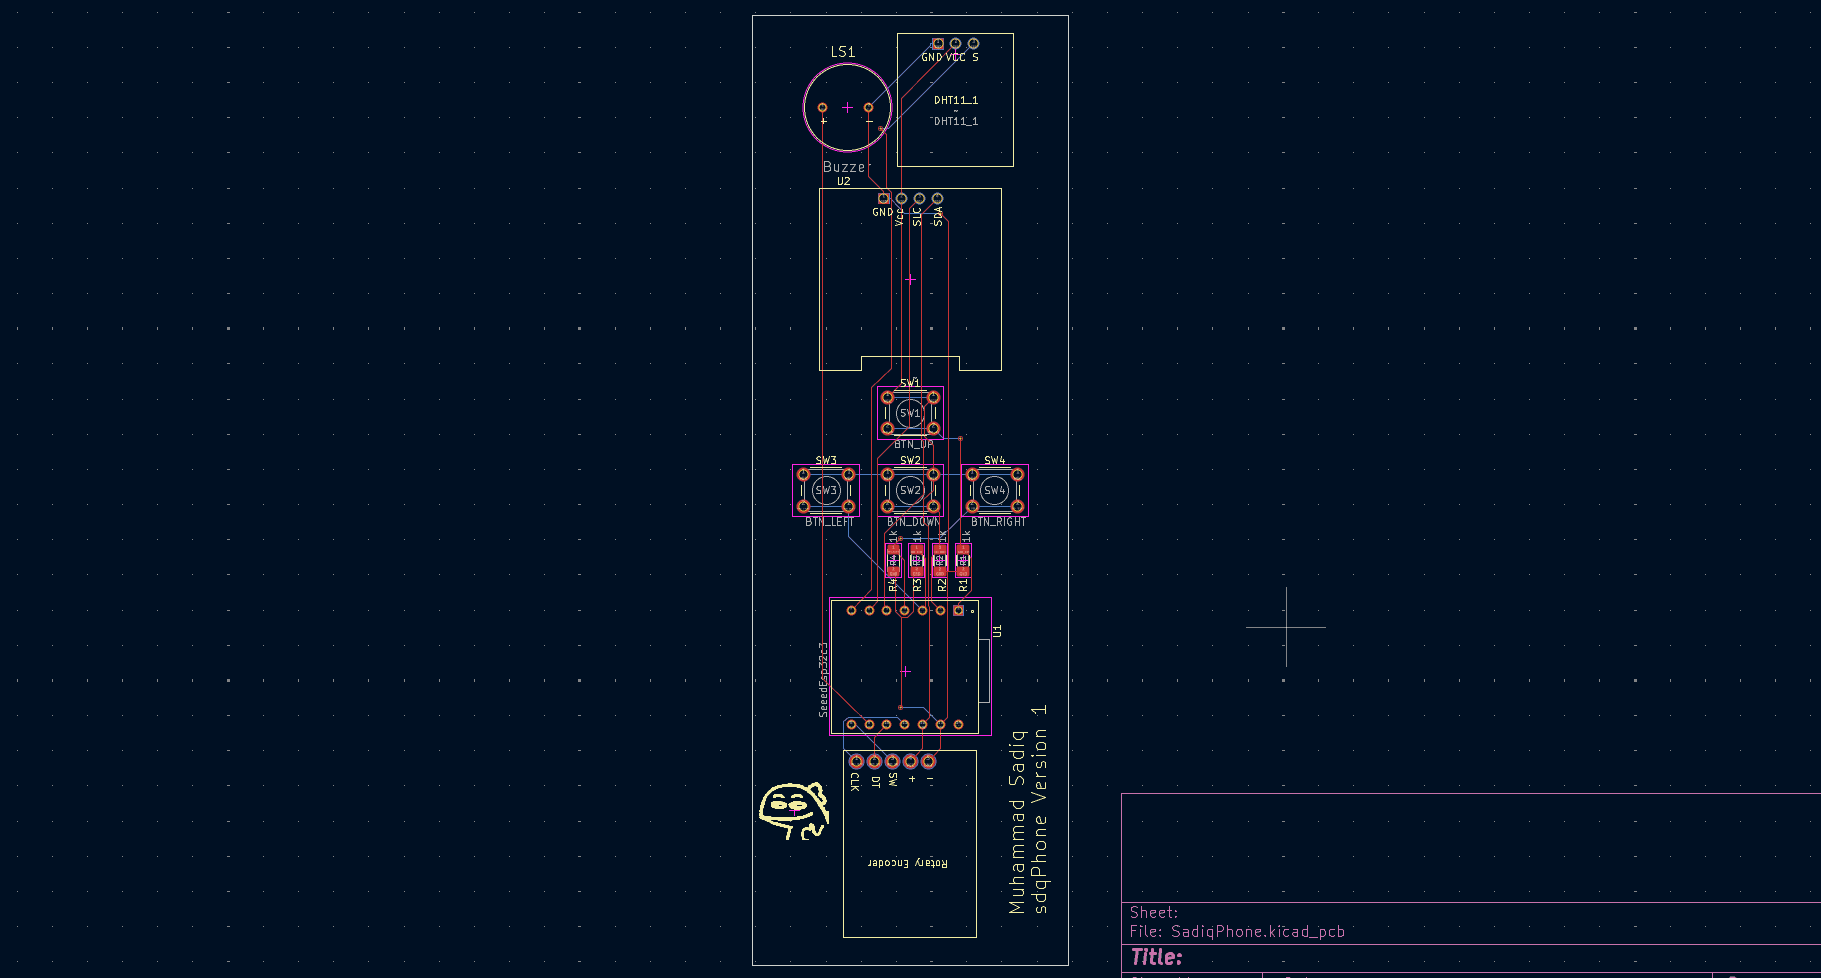
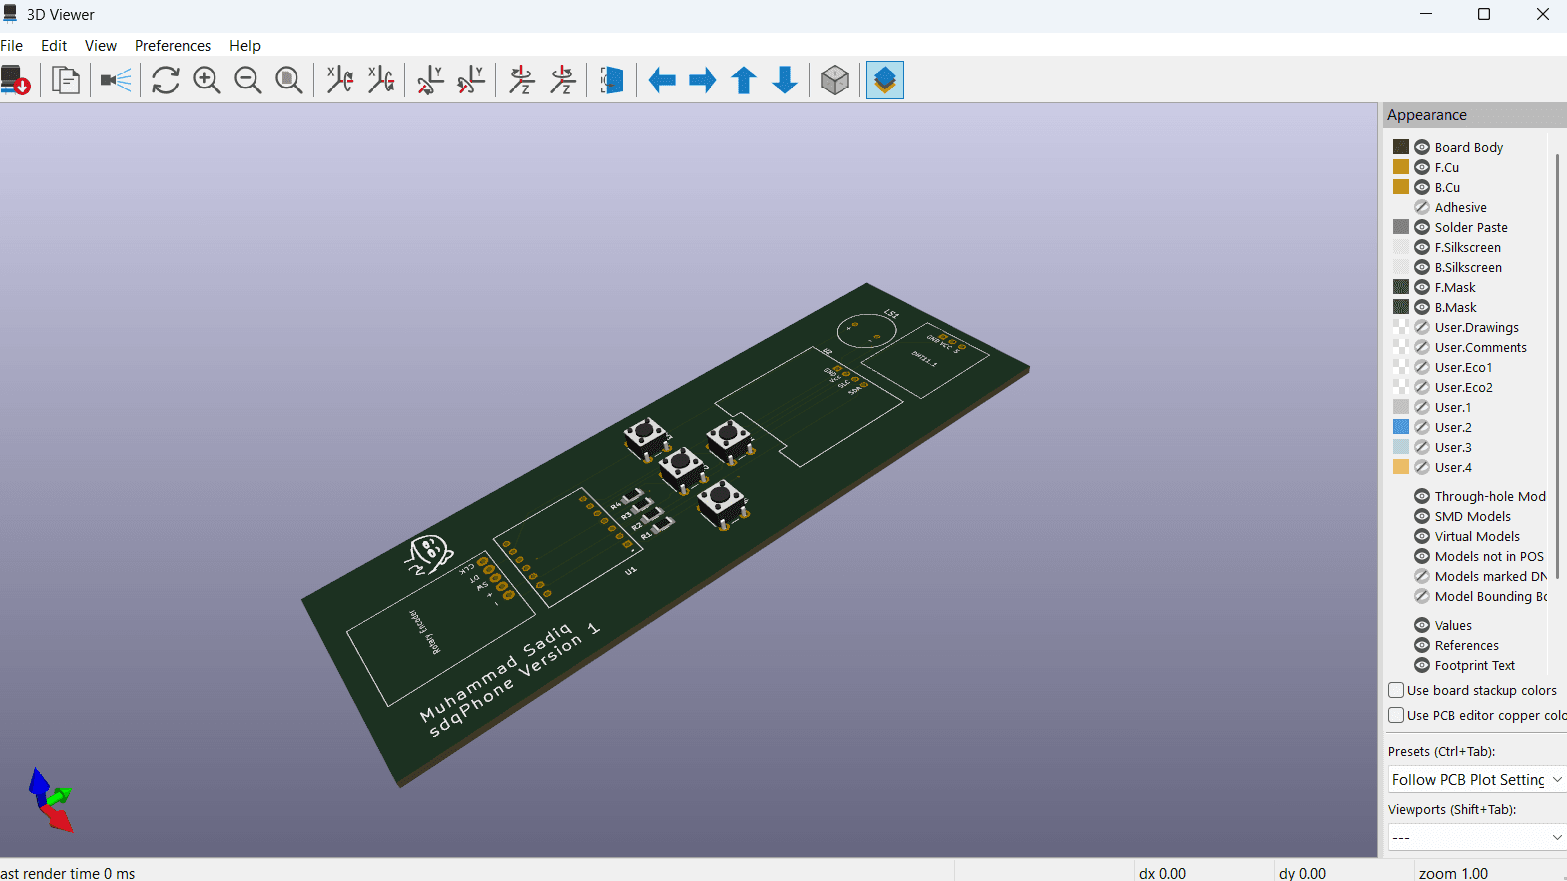
You can download the schematics here.
Designing and Redesigning the Case
After I sent the PCB design to JLCPCB for manufacturing, I designed the case for it using Onshape.
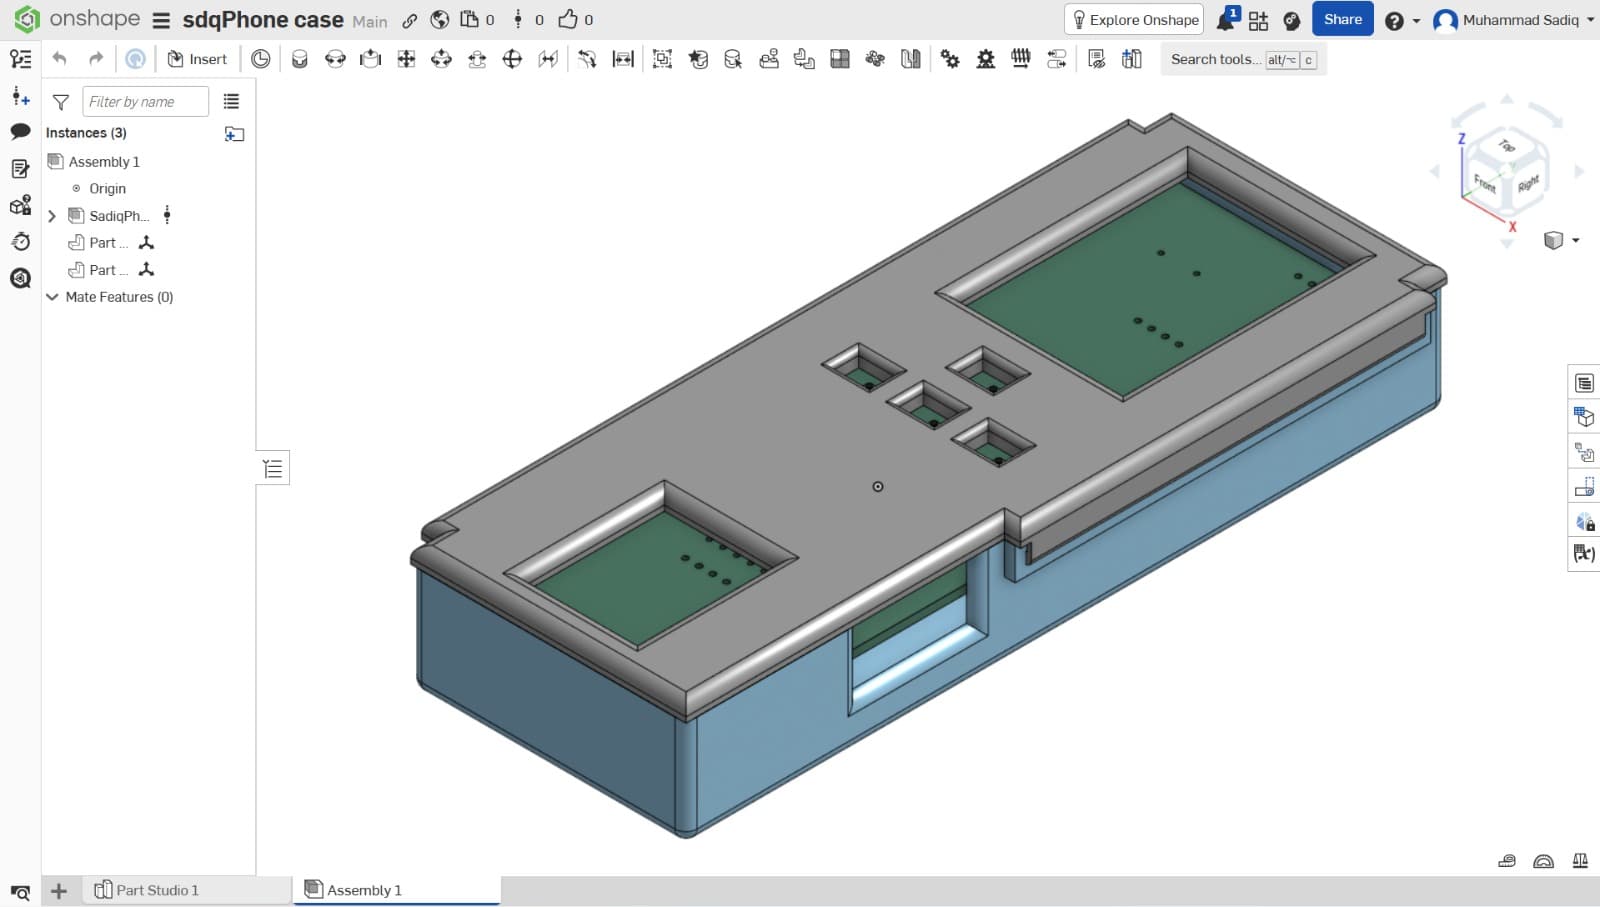
I asked my friend to help 3D print the case for me, and once I received the PCB, I soldered all the components and assembled my project.
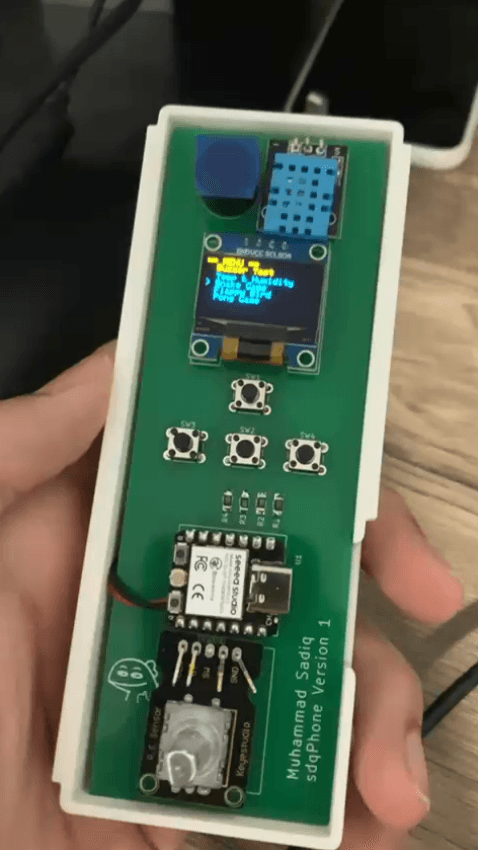
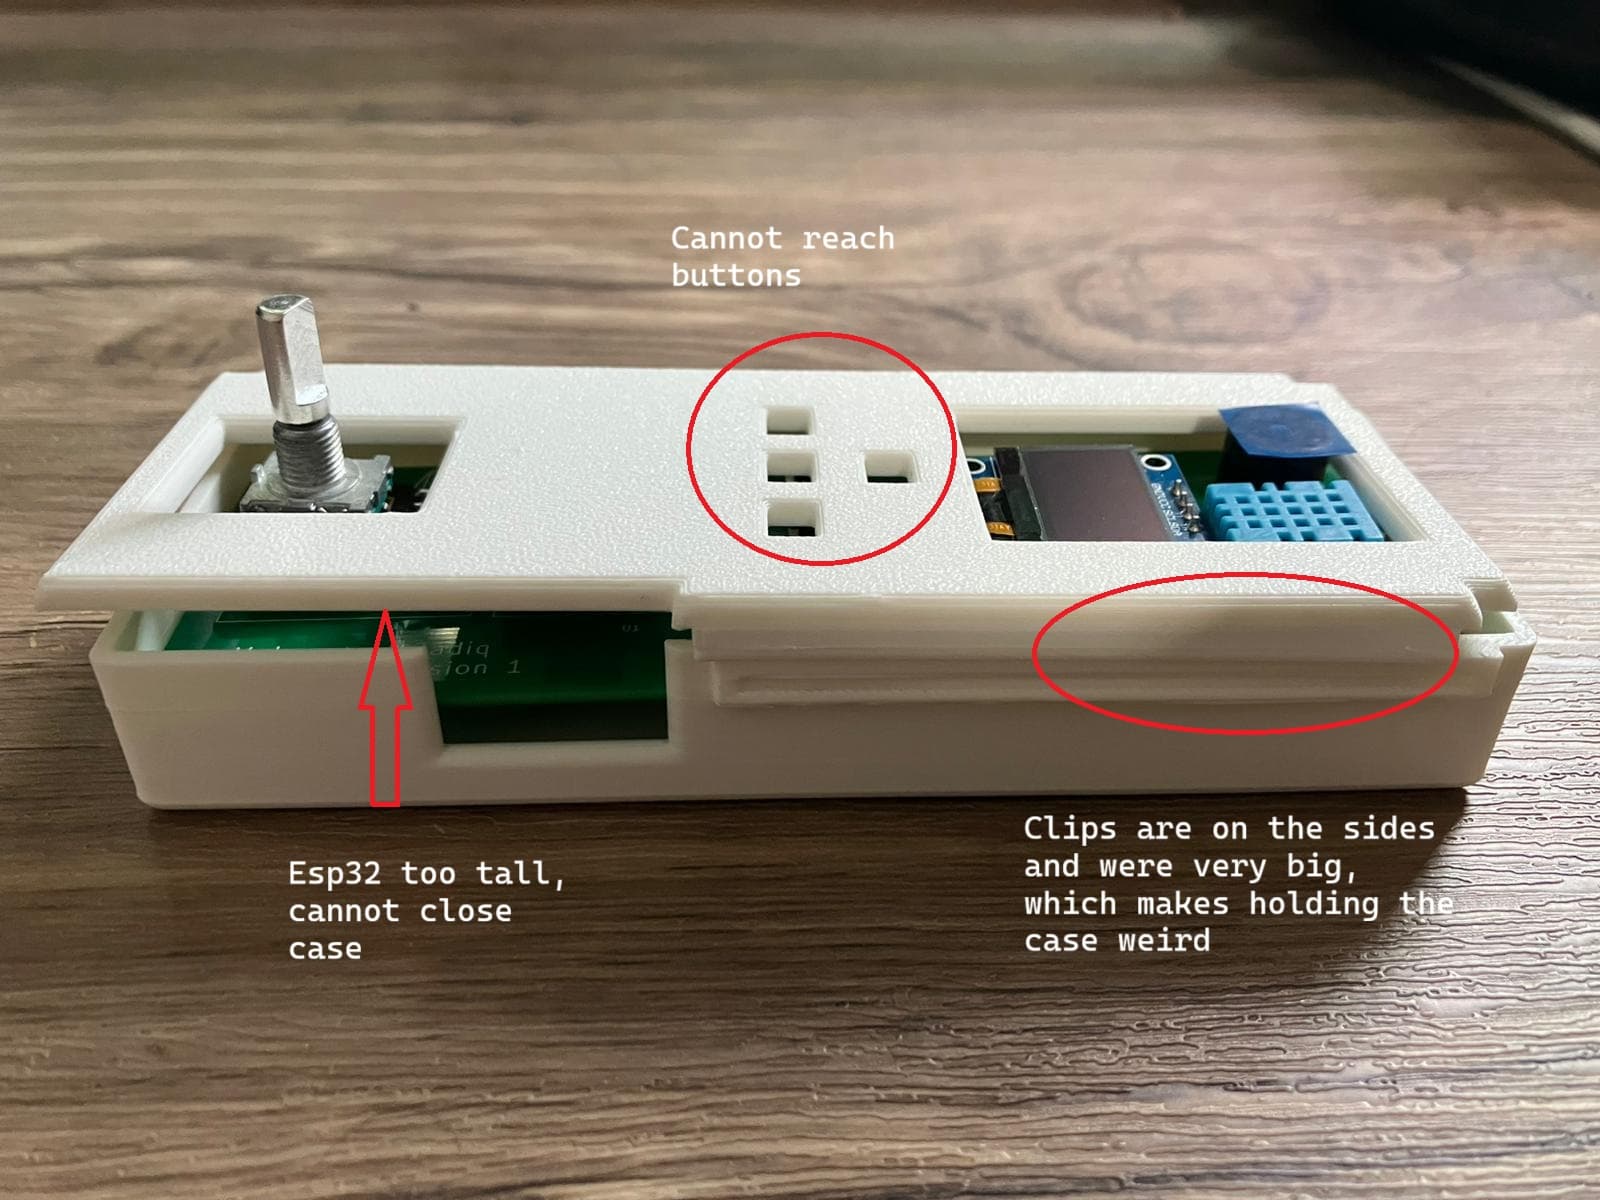
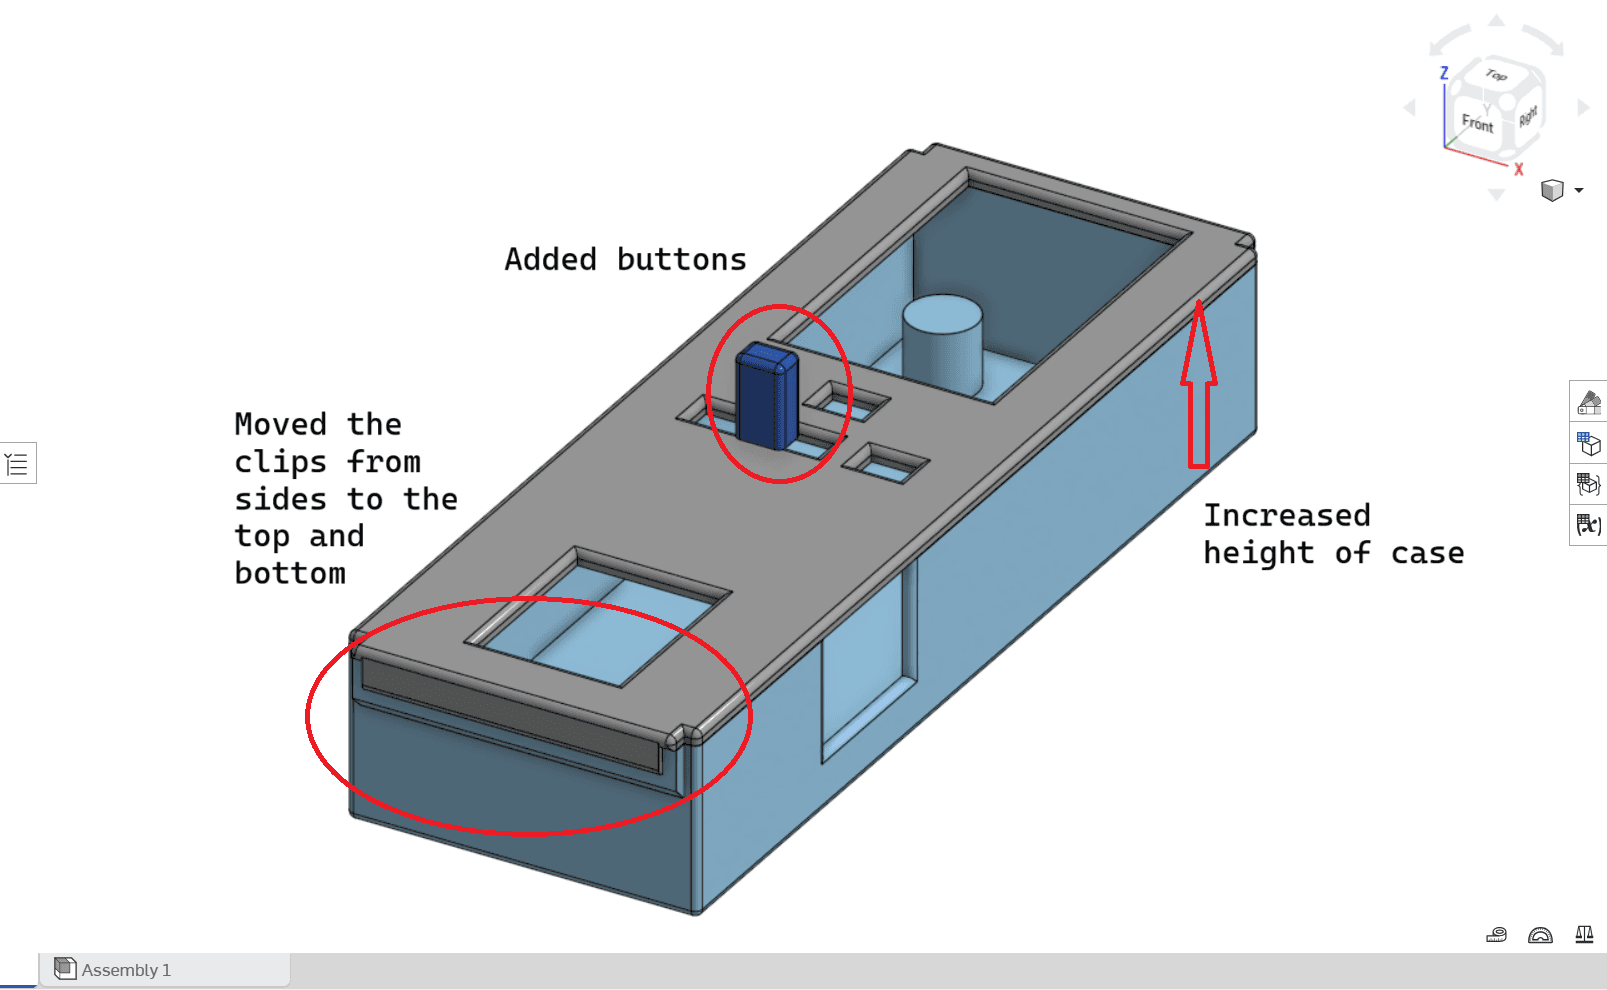
3D model of the case can be downloaded here.